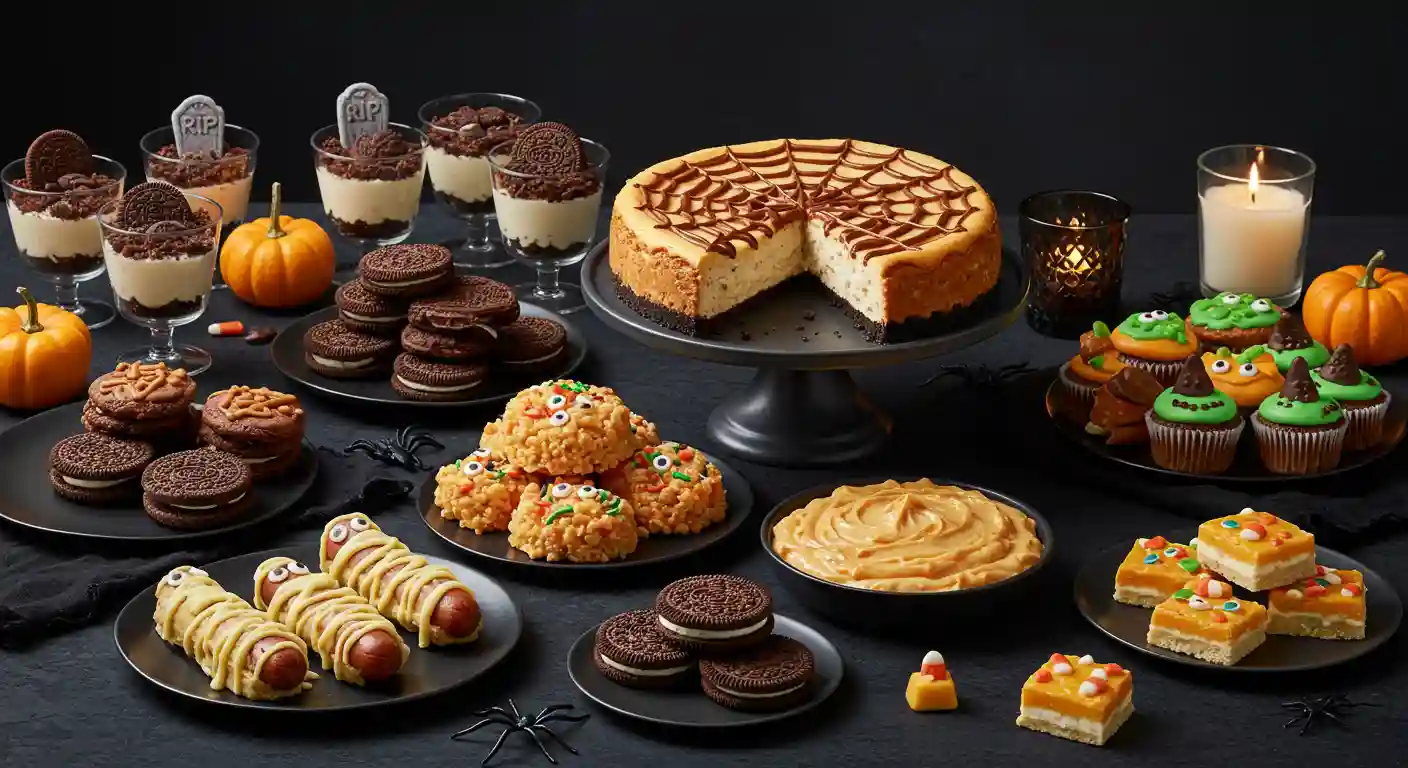
Halloween dessert ideas for parties don’t have to be complicated—or expensive. This roundup balances make-ahead showstoppers, speedy no-bake bites, and one savory classic, so you can plan smarter and host happier. Each recipe uses clear U.S. measurements, simple tools (sheet pan, 8×8 pan, mini muffin tin), and realistic prep times to keep your timeline on track. You’ll also find kid-friendly decorating moments—tombstones, candy eyes, and chocolate spider webs—right alongside polished, Pinterest-ready finishes for your dessert table.
Moreover, we flag freezer-friendly steps, day-before prep, and last-minute assembly to reduce stress when guests arrive. Six recipes are summarized directly from their original articles, which means you can trust the details and measurements and link back when needed. Whether you’re building a classroom snack tray, a potluck spread, or a full party menu, this mix covers variety (sweet + savory), portability (bars, cups, handhelds), and presentation—so every bite looks festive and tastes unforgettable.
1- Spider Web Cheesecake
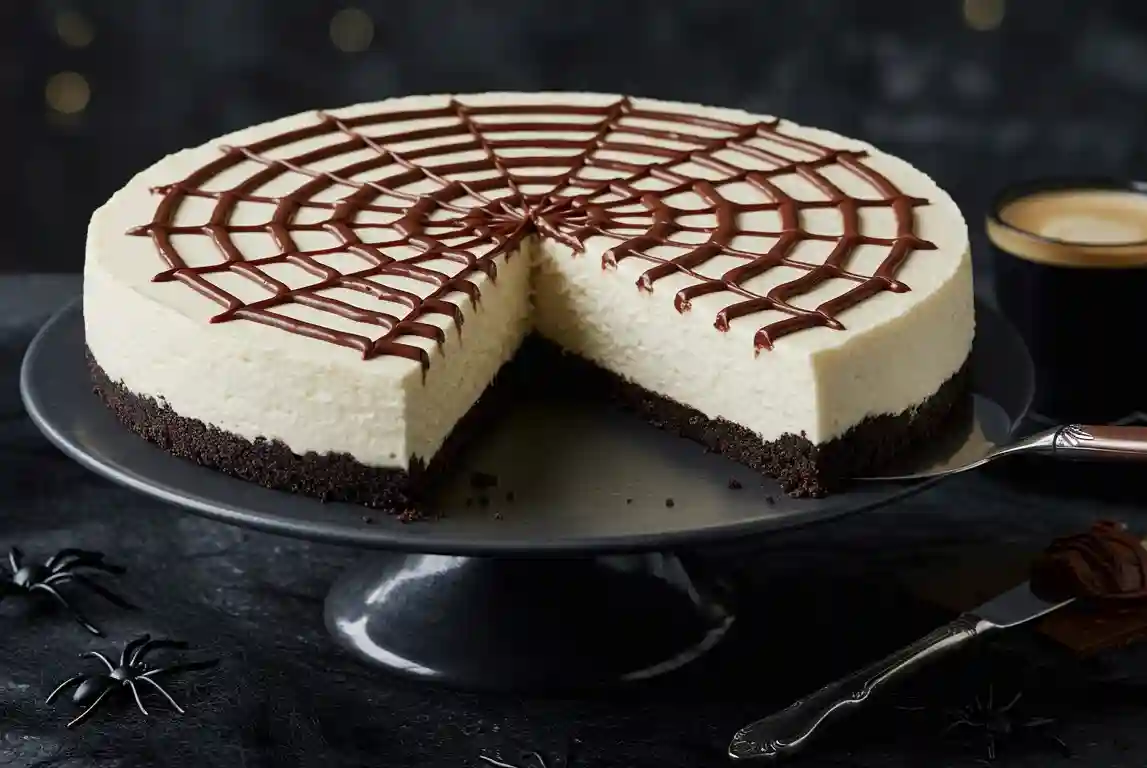
This cheesecake is a decor-and-dessert two-in-one: rich cream cheese filling, a chocolate cookie crust, and a striking web that instantly sets the mood. Furthermore, the water-bath bake and overnight chill make it party-friendly because you can prepare it ahead, then simply unveil your “centerpiece” when guests arrive. As a result, it delivers maximum drama with minimal day-of stress.
Ingredients
- 1 ½ cups crushed chocolate cookies
- ¼ cup melted unsalted butter
- 1 cup + 2 tbsp sugar
- 24 oz cream cheese
- 3 large eggs
- 1 cup sour cream
- 1 tsp vanilla extract
- 2 tbsp flour (optional)
- ½ cup chocolate chips
- 2 tbsp heavy cream
How to Make
- Combine cookies, butter, and sugar for crust; bake at 325°F for 8–10 minutes.
- Beat cream cheese with sugar until smooth; add eggs one at a time. Mix in sour cream and vanilla.
- Pour filling over crust; bake in a water bath at 325°F for 55–65 minutes.
- Cool in oven with door cracked for 1 hour, then chill.
- Melt chocolate with cream; pipe circles and drag a toothpick outward to form a web.
2- Graveyard Pudding Cookie Cups
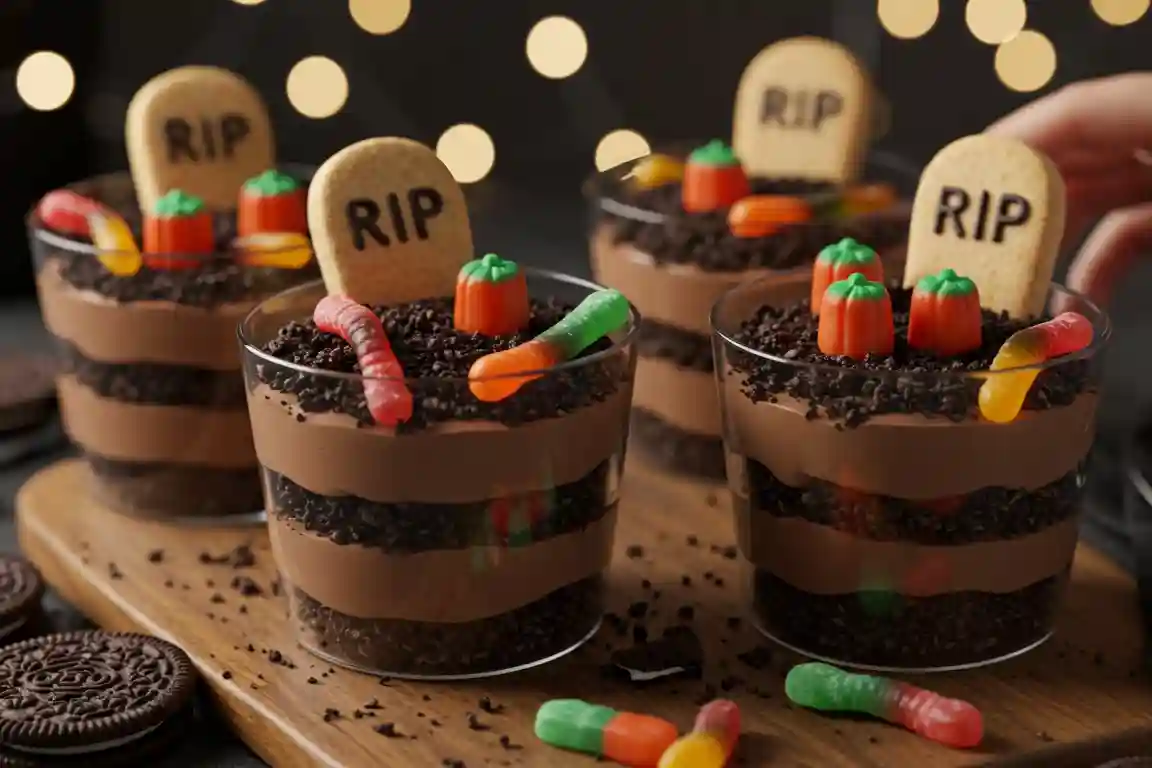
Playful yet practical, these cups double as a decorate-it-yourself activity and a mess-free dessert. Additionally, crushed Oreo “dirt,” cookie tombstones, and candy pumpkins bring instant Halloween charm. Because the recipe is no-bake, you can assemble ahead and refrigerate, then add tombstones just before serving for the crispest look.
Ingredients
- 5.1 oz chocolate instant pudding mix
- 3 cups milk
- 8 oz whipped topping
- 24 Oreo cookies, crushed
- 6 Milano/oval cookies (tombstones)
- Black frosting or edible marker
- 6 candy pumpkins
- Optional gummy worms/bones
How to Make
- Write “RIP” on cookies; let set.
- Whisk pudding with milk; fold in whipped topping.
- Crush Oreos into fine crumbs.
- Layer crumbs and pudding in clear cups; finish with crumbs.
- Insert tombstones and candies; chill 30 minutes.
3- Cauldron Cookies
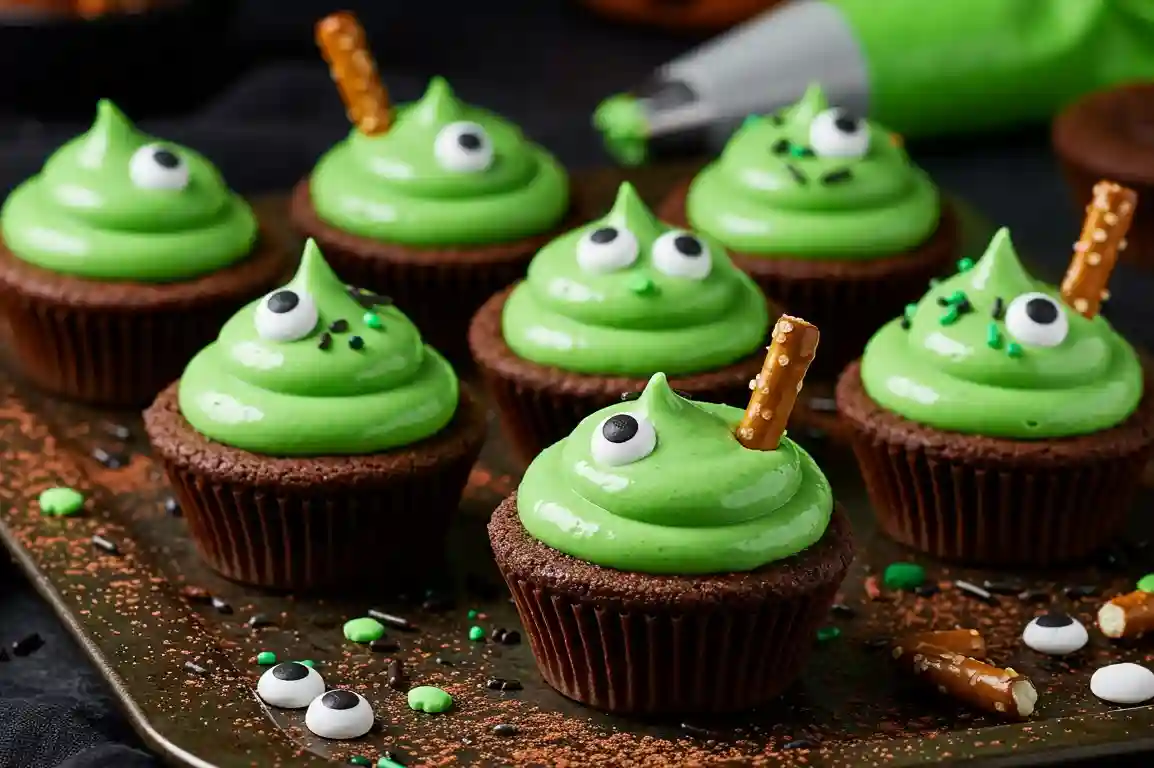
These chewy chocolate cookie cups bubble over with green “potion” frosting, candy eyes, and a pretzel “stirrer.” Moreover, the mini-muffin format makes them portable, and the base uses cake mix, which streamlines the baking. Consequently, they’re ideal when you want a big visual payoff with kid-friendly steps.
Ingredients
- 1 box Devil’s Food cake mix (15.25 oz)
- 2 large eggs
- ½ cup canola/vegetable oil
- (Optional) black food coloring
- 1 cup unsalted butter, softened
- 3 cups powdered sugar
- 1 tsp vanilla extract
- ½ tsp salt
- 1–3 tbsp milk
- Green food coloring
- Green + Halloween sprinkles
- Candy eyeballs
- 12 pretzel sticks
How to Make
- Heat oven to 350°F; grease mini muffin pans.
- Mix cake mix, eggs, oil, and coloring; portion and bake 8–10 minutes.
- While warm, press centers to form cups; cool.
- Beat butter, sugar, vanilla, salt, milk; tint green.
- Pipe frosting; add sprinkles, eyes, and pretzel “stirrers.”
4- Halloween Oreo Brownies
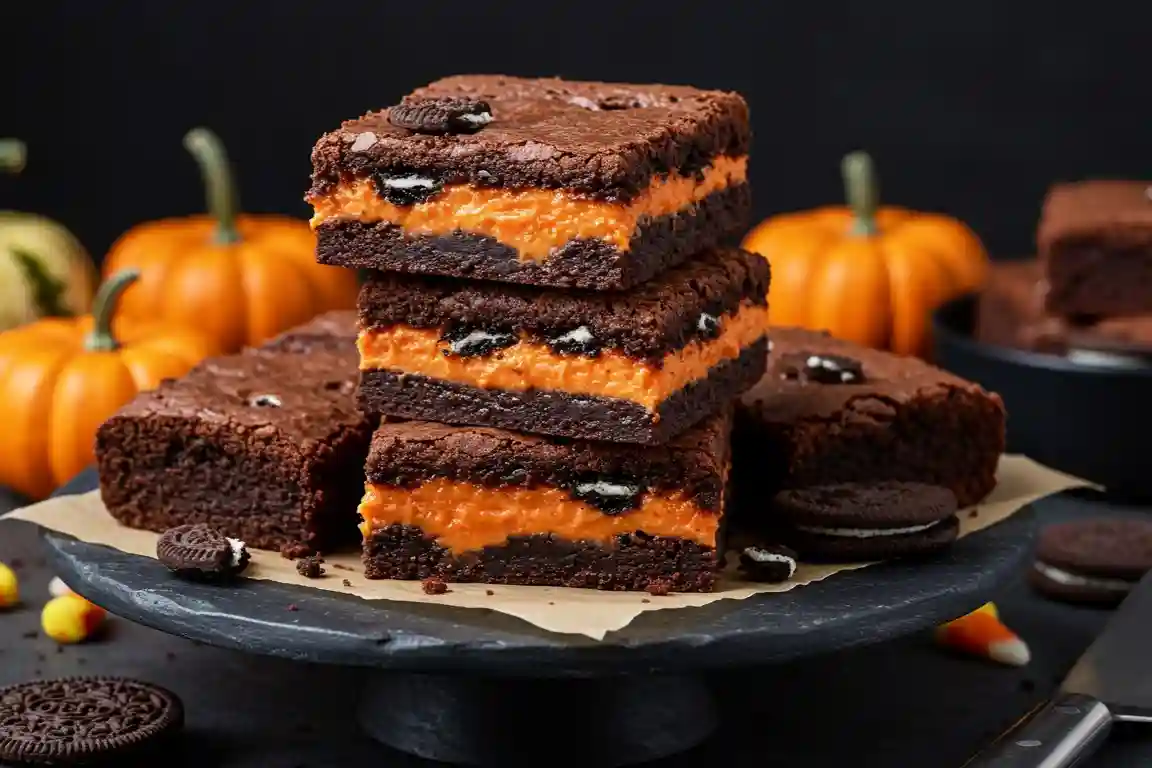
Fudgy and festive, these brownies hide a layer of orange-filled Oreos that adds crunch and vivid color. Plus, the batter uses everyday pantry items, so you can pull it together quickly. Finally, a brief chill before slicing yields bakery-clean edges—perfect for a photo-ready tray.
Ingredients
- ⅔ cup unsalted butter
- ¼ cup vegetable oil
- 1 cup granulated sugar
- ⅓ cup brown sugar
- ⅔ cup cocoa powder
- 2 large cold eggs
- 1 tsp vanilla extract
- ½ cup all-purpose flour
- ½ tsp salt
- 15 Halloween Oreos + 5 crushed
How to Make
- Heat oven to 350°F; line 8×8 pan with parchment.
- Melt butter, oil, sugars; whisk in eggs and vanilla.
- Fold in cocoa, flour, salt.
- Spread half batter; layer 15 Oreos; top with remaining batter and crushed Oreos.
- Bake ~30 minutes; cool fully before slicing.
5- Caramel Apple Cheesecake Dip
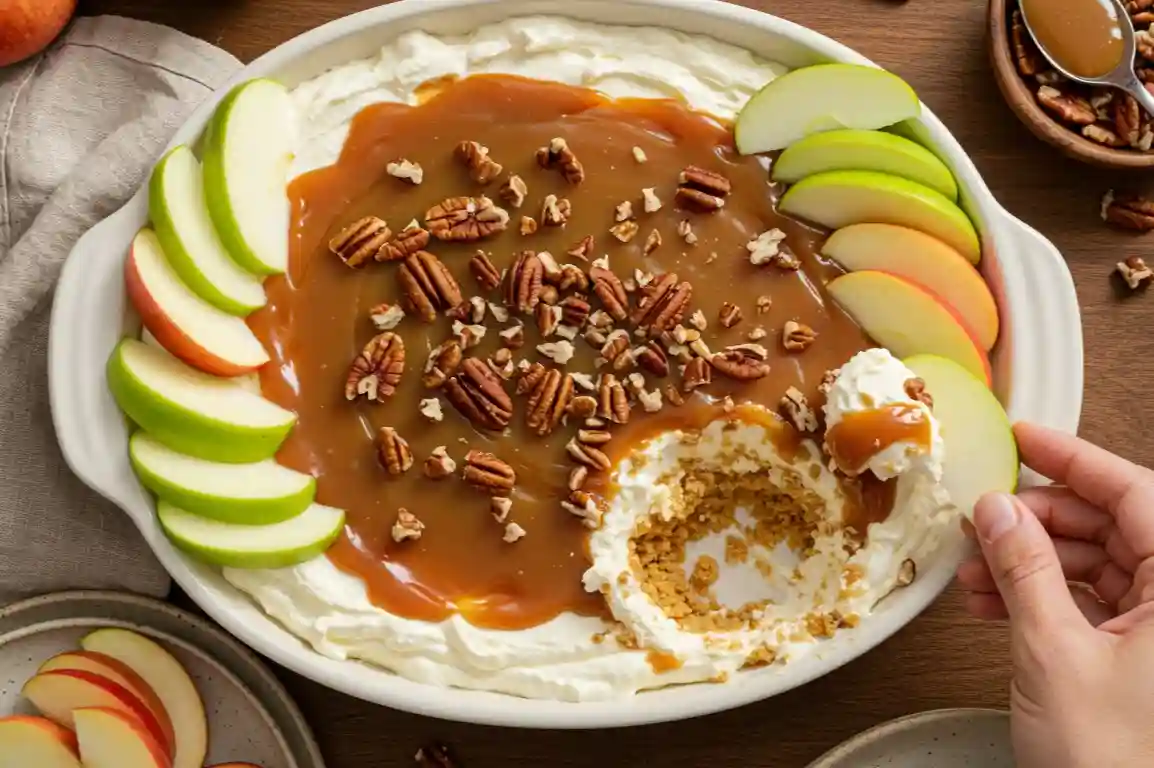
Think cheesecake meets caramel apple, only easier. Meanwhile, tart apple slices balance the sweetness, while toasted pecans add crunch. Because it’s no-bake and ready in minutes, this is the ultimate last-minute party saver; yet, it still tastes like you fussed.
Ingredients
- 8 oz cream cheese, softened
- 3 tbsp heavy cream
- ½ tsp vanilla extract
- ⅓ cup brown sugar
- 5.5 oz caramel sauce
- ¼ cup toasted pecans
- 2–3 apples, sliced
How to Make
- Beat cream cheese with brown sugar, cream, and vanilla until fluffy.
- Spread in a shallow dish; top with warmed caramel.
- Sprinkle pecans; serve with apple slices or chill 20–30 minutes.
6- Frankenstein Halloween Rice Krispie Treats
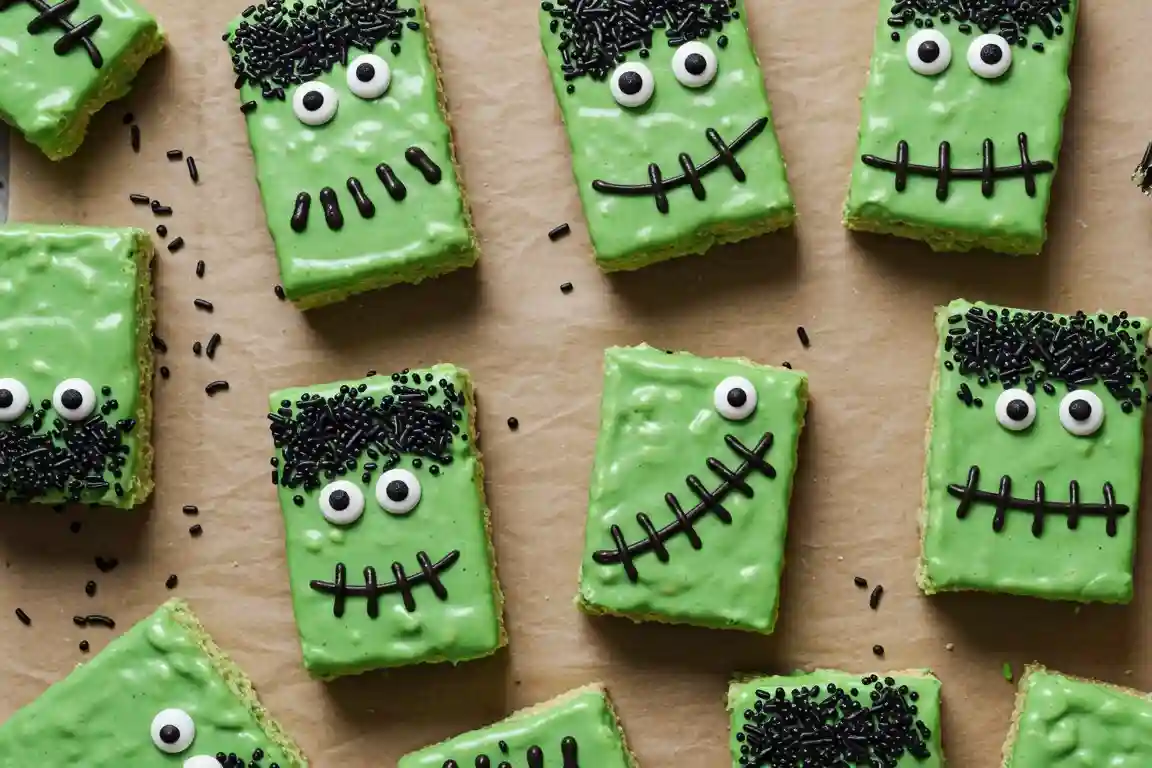
Silly, gooey, and unfailingly crowd-pleasing, these no-bake bars become mini monsters with green candy melts and chocolate “stitches.” Likewise, the decorating step is simple enough for kids, which turns dessert time into a hands-on activity. Better yet, they hold well and can be made ahead.
Ingredients
- 6 cups rice krispie cereal
- 10 oz mini marshmallows
- 4 tbsp unsalted butter
- 10 oz green candy melts
- 3 oz black candy melts
- Royal icing eyes
- Black jimmies sprinkles
How to Make
- Butter a 9×13 pan.
- Melt butter; stir in marshmallows until smooth; fold in cereal.
- Press into pan; set 30 minutes and cut into bars.
- Dip tops in melted green candy, then black sprinkles; add eyes.
- Pipe stitches with melted black candy; let set.
7- Mummy Hot Dogs

These crescent-wrapped hot dogs are the savory counterpoint on a dessert-heavy table. Additionally, they bake up golden and flaky, while the mustard or ketchup “eyes” add instant personality. As a result, kids grab them first, and adults appreciate the warm, filling bite amid all the sugar.
Ingredients
- 8 bun-length hot dogs (all-beef preferred)
- 1 roll refrigerated crescent dough (unperforated sheet ideal)
- Candy eyeballs (optional)
How to Make
- Pat hot dogs very dry with paper towels. Preheat oven to 375°F (190°C).
- Unroll crescent dough. Cut in half both directions to make 4 rectangles. If perforated, pinch seams to seal. Slice each rectangle lengthwise into ~10 thin strips.
- Wrap each hot dog with about 4 dough strips, leaving a small gap near the top for “eyes.”
- Arrange on an ungreased baking sheet, lightly mist with nonstick spray, and bake 15–17 minutes, until dough is golden.
- Transfer to a cooling rack and add candy eyeballs while warm. Serve with ketchup, mustard, or your favorite dip (spicy brown mustard is great).
8- Pumpkin-Shaped Rice Krispie Treats
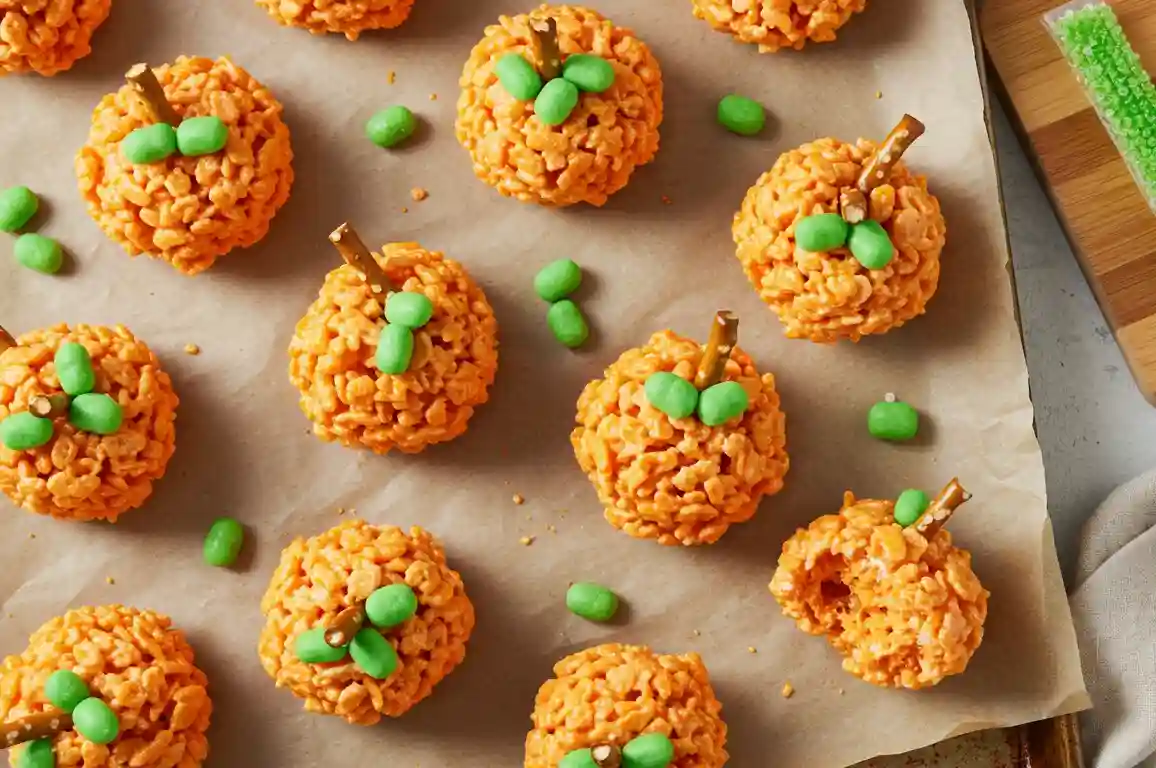
Cute and efficient, these orange-tinted Krispie pumpkins are ideal for make-ahead school treats. Moreover, pretzel stems (or green candies) make them instantly recognizable. Because the base sets quickly, you can shape, stem, and move on to the next batch without slowing down.
Ingredients
- 6 cups Rice Krispies cereal
- 3 Tbsp salted butter
- 1 (10 oz) bag mini marshmallows
- Orange gel food coloring
- 3 pretzel rods, broken into 2-inch pieces (6 pieces total)
- 6 mini green AirHeads or green fondant*
- Nonstick cooking spray
How to Make
- Add cereal to a large bowl. Lightly spray a plate or tray with nonstick spray.
- In a 4-quart nonstick pot over medium-low heat, melt butter. Add marshmallows and stir until mostly melted, then mix in orange gel to your desired shade. Stir until fully smooth.
- Remove from heat. Immediately pour in cereal and fold with a spatula until evenly coated. Let cool just until comfortable to handle.
- Lightly spray your hands. Form mixture into 6 baseball-size balls. Press a pretzel piece into the top center of each and reshape as needed.
- For each treat, cut a small leaf from a mini green AirHead and roll the remaining candy into a thin rope; twist into a vine. (If using fondant, shape a leaf and vine.) Place beside the pretzel “stem.”
- Let firm up. Store in an airtight container.
9- Candy Corn Fudge
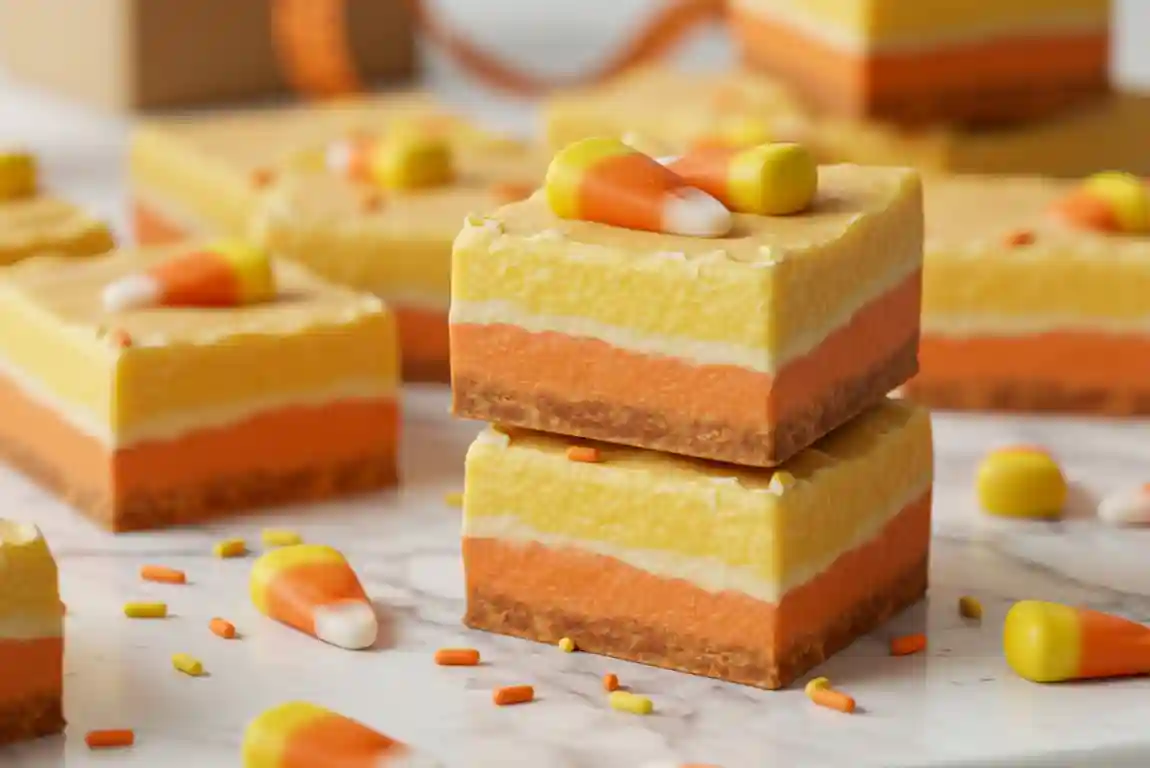
Nostalgic and eye-catching, this layered fudge channels the iconic yellow-orange-white stripes. Additionally, it slices cleanly into shareable pieces, which makes plating simple. Therefore, it’s perfect for dessert boards, gift boxes, or quick favors at the end of the night.
Ingredients
- 1 (14 oz) can sweetened condensed milk
- 2 Tbsp unsalted butter
- 1 tsp vanilla extract
- 2 cups semi-sweet chocolate chips
- 1 cup milk chocolate chips
- 1 cup candy corn, plus extra for topping
How to make
- Line an 8×8-inch pan with foil, leaving overhang for handles. Grease or spray well.
- Set a heatproof bowl over a saucepan with 1 inch of simmering water (bowl shouldn’t touch water). Add condensed milk, butter, and vanilla; stir until butter melts and mixture is smooth. Remove from heat.
- Stir in semi-sweet and milk chocolate chips until fully melted and glossy. Fold in candy corn.
- Spread mixture evenly in the pan. Press extra candy corn on top. Let cool until firm, at least 2 hours, then lift out and cut into squares.
10- Witch Hat Cupcakes
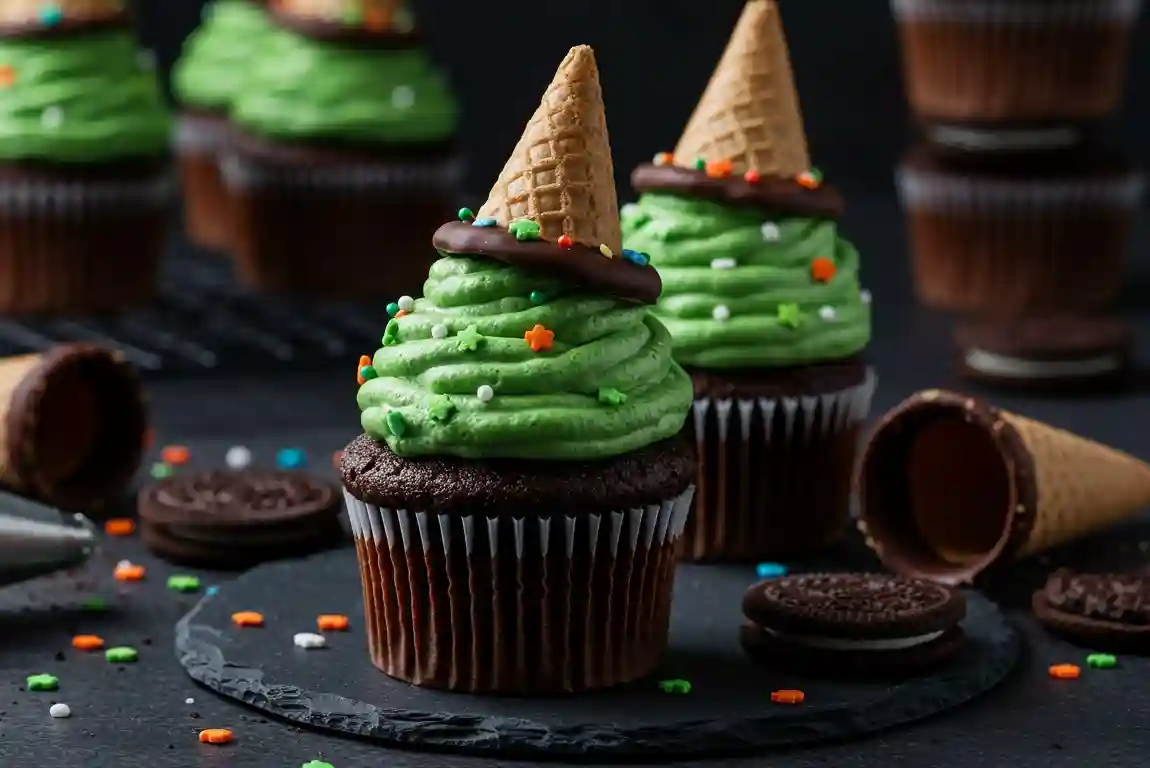
These whimsical cupcakes deliver height, texture, and contrast with minimal effort. First, you frost the cupcakes; then you add a chocolate-dipped sugar cone “hat,” optionally set on a cookie brim. Consequently, the tray looks bakery-level, yet the steps remain weeknight easy.
Ingredients
- 12 chocolate cupcakes
- 6 Oreo cookies
- 12 Hershey’s Kisses
- ½ batch cream cheese frosting
- Green and orange gel food coloring
- White and orange sprinkles
How to make
- Reserve ½ cup frosting in a small bowl (for orange). Tint the larger portion green; tint the reserved portion orange.
- Twist Oreos to separate. Add a small dollop of orange frosting to the center of the cookie top, press a Kiss onto it, and add sprinkles. Set aside.
- Pipe green frosting in the center of each cupcake (leaving a small border), spiraling upward into a few layers.
- Top each cupcake with an Oreo witch hat. Refrigerate, covered, until ready to serve.
Conclusion
In summary, this lineup gives you balance and flexibility: some recipes prep days ahead, others assemble minutes before guests knock. Mix rich showpieces (like the cheesecake) with playful no-bakes (like the Frankensteins), then add one savory star (those mummies) to steady the sweets. Ultimately, you’ll host with less stress and more style—and your Halloween table will haunt them (in a good way) until next year.

